BRUSH SETS WORTH SCOOPING UP ASAP!

BRUSH SETS.png

Currently my most asked question over on IG is; ‘What brush is that?’… referring to whatever makeup brush is currently in my hand. So I thought it was time for a quick round up of my most used brush sets, and spoiler alert… they’re all budget friendly!!

  • BEST ALL OVER BRUSH SET- BH Cosmetics Take me to Brazil (on sale for $16!) I love this set, especially the larger complexions brushes for bronzer, blush and powder application. And the rainbow colors are just so stinking cute!

  • BEST SHADOW BRUSH SET- Wet n Wild pro Eye Perfection I have had this set for well over a year and it is still in great shape, and I reach for them almost daily. The large fluffy blending brush is AMAZE.

  • BEST FACE & CHEEK BRUSH SET- Real Techniques Everyday Essentials This set has zero ‘extra’ or ‘filler’ brushes… meaning EVERYTHING is usualable and has its own purpose. I love the large Blush Brush so much, I have two! Plus the sponge is awesome too if you prefer to blend that way.

  • BEST FOUNDATION & CONCEALER BRUSH SET- Morphe Fluidity Set When it comes to foundation application, Morphe has is figured out. This set is my go-to every day for my base products. The bristles are so soft and blend perfectly, plus they wash up nicely without losing bristles.

Happy brushing! xo

Megan Signature.png


LADIES, IT'S TIME TO SHAVE YOUR FACE

Facetune 183.JPG

Yup, you read that right… shave your face!

I’ve actually mentioned these razors many times on this blog, but I get asked often about peach fuzz, so I wanted to do a follow up. I’m of the belief that peach fuzz is cute on babies, but not so cute on grown women. But almost all of us have it- it’s totally normal of course, it just doesn’t lend itself to good makeup application so that’s why it’s gotta go! Watch my shaving in action on my IG highlight called ‘Peach Fuzz’

I reccomend these disposable razors designed to be used 2-3 times before they are tossed. They quickly remove the blonde soft hairs found on your cheeks, jawline, neck and even hairline. Just be sure you avoid trying to remove dark or coarse hair with them, they will tug and pull on those and leave you with stubble.

Steps to use a facial razor to get rid of Peach Fuzz:

  1. Work with clean dry hair… right after a hot shower or bath is best because the hairs have been softened, and they will stand out from the skin most prior to moisturizing etc. so you’ll be able to see them easily.

  2. Shave in natural light in front of a window using a hand mirror- better light will make the whole process easier.

  3. Pull the skin taut with one hand, and shave in downward motions with the other… working WITH THE GRAIN of the hair growth. you can hear the razor cutting the hairs, once the sound stops you can move on to the next section.

  4. Shave everything 3-4 weeks as needed, and use a sharp razor for best results (2-3 uses max per razor), my favorites can be found at Sally’s or Amazon


Happy Shaving! xo

Megan Signature.png


5 WAYS TO UPDATE YOUR CURL GAME // PLUS A GIVEAWAY

exif_temp_image (1).JPG

Curling your hair can be a chore and one that can go off track real quick if you aren’t using the right tool for the look you want to achieve. Keep in mind that every head of hair will take curl differently, and factors like thickness, texture and even COLOR play a role in how your curls will turn out. Take a look at 5 awesome tools to achieve perfect curls, and grab a few of my expert tips in the video below. [video also here on youtube]


Tools to try:

There’s no ‘right or wrong’ with any of these, you just need to pick the type of curl that speaks to you most, and then also adjust the size of the barrel for your length of hair and how tight or loose you want you curls.

Here are a few other curling tips to consider:

Tip #1- Go back to basics; section your hair into smaller workable sections and keep your timing consistent on each curl to avoid too much variation or possible scorching.

Tip #2- Start with clean hair, prep the hair with a heat protectant and be sure to finish with a nice hair spray to preserve your work. If your hair is slippery and falls flat, try spraying in a texture spray to give your hair some grit before curling. like this one

Tip #3- Cool the curls twice as long as you heat them before brushing or tugging to lock in the curls for a longer period of time.

Tip #4- Sleep with curls in loose braids or stacked in a loose bun on top of your head, so you can refresh them in the morning without having to start all over again


Facetune (7).JPG

***GIVEAWAY*** Be sure you head over to my instagram and enter to win your own CHI Spin n Curl gizmo before the end of August.

Megan Signature.png
 

A VIBRATING FLAT IRON?!

Facetune (6).JPG

So… ya it vibrates, but why?

That was the question I am sure you asked, and to be honest I asked it too! And that’s why when Vanity Planet offered to send me one to try, I jumped at the chance. As a hair stylist, after 17 years- it takes a lot to make me excited about a new hair tool. So you can imagine!

So here’s the buzz; (pun win!)

The Vibe is a 1.5” flat iron that vibrates upon closure. The vibration is designed to lessen the drag and friction on the hair and help the plates glide more easily. I was happy to see that the vibration only happens when the plates are touching and you don’t have to worry about it wiggling off your bathroom counter. I also like the size of the plates for my long hair, because it makes the whole process faster from start to finish.

VIBE.jpg

So how is it different that other irons? I think the difference here is that the pressure on the hair is less, and therefore the hair strands aren’t compressed as flat. So you still get shiny smooth hair but you are left with some volume too. Personally I like that my hair isn’t flat-as-a-board when I use this iron, but if you’re looking for uber sleek strands this guy probably isn’t for you.

It heats to a non-adjustable temp of 400 degrees and uses Korean Tourmaline coated plates.

Overall I think the idea and execution are both awesome, and that the Vibe fills a need if you want smooth hair but don’t love flat hair. And I mean, who really wants FLAT hair anyway?

If you want to check out the Vibe for yourself you can buy one here and save some moolah with my code: BEAUTYSNOOPVIBE making it only $30!! So cool

xo

Megan Signature.jpg
 

NEXT GENERATION OF MAKEUP APPLICATORS

Beauty Blender, Artis Brush Dupe, Silicone Sponge, Silisponge, Ulta Super Blender

Move over makeup brushes, it's time for a new generation of makeup applicators to find their way into your hearts! Today I am sharing 3 new categories of makeup applicators that you may have not heard of just yet. They are designed to make your routine more seamless, and use technological advances to up your makeup game! [

Video Here

]

Silicone Blenders

Silicone Sponges made it BIG in 2017 and have changed the way we apply liquid foundation to the face. They absorb ZERO amount of your product and are very easy to clean and keep sanitary. Best for those who use liquid foundation and want full coverage.

Paddle Brushes

The unique shape and handle (similar look to a large toothbrush) gives these brushes a leg up on blending and blurring your products. They contain a much larger number of bristles in each brush, meaning you can distribute your products more quickly. They work with liquids, cream, and powders for a seamless blend. 

Bouncy Sponges

The shapes and sizes are ever changing with these sponges, that have a bouncy suede like texture designed to bounce across the face to press products into the skin for a flawless finish. The sponges are used damp which will slightly thin out the product you're applying giving a more natural medium coverage. The unique shapes are designed to fit the contours of your face, and can be used with liquids, creams and powders.

Have you tried any of these fun tools? xo

!function(d,s,id){var e, p = /^http:/.test(d.location) ? 'http' : 'https';if(!d.getElementById(id)) {e = d.createElement(s);e.id = id;e.src = p + '://' + 'widgets.rewardstyle.com' + '/js/shopthepost.js';d.body.appendChild(e);}if(typeof window.__stp === 'object') if(d.readyState === 'complete') {window.__stp.init();}}(document, 'script', 'shopthepost-script');

JavaScript is currently disabled in this browser. Reactivate it to view this content.

GIZMO SNOOP: SIGMA SPA BRUSH CLEANSING GLOVE

Cleansing your makeup brushes is a crucial

step that can often be forgotten or postponed too long. Skipping this vital step will not only cause your brushes to not last as long, but it will also prevent the best application of the products themselves. Not to mention the bacteria growth and possible skin irritations and acne that comes from smearing said bacteria all over your face. #AmIRight?

I've posted about

my favorite way to clean my brushes before

, but today I'm snooping out a fun new tool to aid in the process even further.

Sigma Beauty

makes these unique

cleansing gloves and sink mats

, that protect your hands from taking a beating while scrubbing, and they also help to get the job done quicker and more efficiently.

You should be cleaning your liquid/cream 

brushes every 2-3 weeks, and your powder brushes every 6-8 weeks. 

The gloves and mats are made from a high quality silicone that have many different textures built in.

The textured bits are designed to loosen dirt and makeup from your brushes

and then to help reshape the brush before it dries.

I love using this, and it really does make the job quicker and more fun, while saving my hands from getting to raw and dry. I have the

Express Glove

which works great but sometimes can be hard to get a handle on once things get slippery. Next time I buy,  I'll go for the

sink mat

which has suction cups and requires no hands at all!

So if you want to take better care of your brushes, I highly reccomend this gizmo! Thanks for reading, xo

Follow on Bloglovin

!function(d,s,id){var e, p = /^http:/.test(d.location) ? 'http' : 'https';if(!d.getElementById(id)) {e = d.createElement(s);e.id = id;e.src = p + '://' + 'widgets.rewardstyle.com' + '/js/shopthepost.js';d.body.appendChild(e);}if(typeof window.__stp === 'object') if(d.readyState === 'complete') {window.__stp.init();}}(document, 'script', 'shopthepost-script');

JavaScript is currently disabled in this browser. Reactivate it to view this content.

THE SECRET HAIR TOOL YOU'VE GOT TO SEE // 5 MINUTES TO MAJOR VOLUME

#voloom, @voloom, volume and texture iron that lifts roofts from within and gives major volume and density to hair for days. Voloom Iron Review

About 80% of women that come into my salon are looking for more volume in their hair

. That's a pretty large majority, especially in todays world where the numbers are almost never that straight forward. And I am always looking for more volume in my own hair- in fact I've written about volume on this blog more than any other topic. And while I do have some favorite products for achieving volume on the wet-side of your style, that is only half of the battle. 

Once the hair is dry, you can achieve even more volume with the use of a Volumizing Iron.  

I have used a few other irons designed for volume in the past, but the Voloom iron immediately caught my eye as being different because it uses a waffle iron pattern in the plates to create volume instead of a crimp or wave. I scooped it up ASAP so I could bring you a first look at the Voloom and I captured my first use with the iron on video for you to see down below. Check it out!

I am completely impressed with this bad-boy and can't wait to use it more to find the perfect amount of volume for me. I think it may be easy to go a little too big with this guy, so I would encourage anyone who buys it to reign in their inner 'Dolly' and find a happy medium. The waffle pattern really seems to make a big improvement in the the visual density of your hair and gives an ample cushion to the roots, which provides great volume payoff.

It also maintains the volume for 2-3 days after the initial use, so you get a lot of wear out of those extra 5 minutes in the morning on day one

. Genius!

Follow on Bloglovin

GET RID OF DULL SKIN ONCE AND FOR ALL

Electric face brush, cleansing brush, facial brush, sonic face brush, clarisonic

It's the final day of Spa Week- and we are wrapping up with a look at the cleansing brush that started it all; the Clarisonic. I've been a fan since day one (I bought the original, and then later the Mia2), and I've talked about my Clarisonic on this blog before in my 'at-home facial routine' here, if you wanna go back and check that out.

Electric face brush, cleansing brush, facial brush, sonic face brush, clarisonic

Using the Clarisonic brush is like giving your face a spa facial at home every time you use it. The tiny sonic pulses work to cleanse your skin 6 times better than any manual cleansing ever could and the result is astounding. When I first started using my Mia brush, I have to admit, I was a little over zealous and ended up over drying and sensitizing my face- because I just loved to use it SO much. But after I cut back and found the right balance for my skin and dry climate (2x's per week) my skin has improved tremendously in texture and tone. I've seen the pore size on my nose and forehead dramatically reduced, and that is worth a LOT in my book.

One of my fav parts about the brush is that it can go with you in the shower or the bath without fear of being water damaged, so if you are

in a hurry you can kill two birds with one stone. It makes the tedious chore of cleaning your face every night truly enjoyable, and a task that I actually look forward to, rather than dread. I have the light pink Mia 2, but there are so many cute colors and patterns to pick from. Also, on a weird side note- I love the quiet humming sound it makes while cleaning... looney bin? yes.

TheBeautySnoop.com Clarisonic Mia Review, Skincare Reviews from Top Beauty Blogger, Megan Moore

The Clarisonic can be customized with many different cleansing brushes for your skin type as well. I

prefer the sensitive brush, but there are also normal, acne prone, deep cleansing, and luxe version brushes. The brushes should be swapped out every three months for best results- and I find that to be really accurate with my routine seeing as I use and remove a LOT of makeup. ha!

If you haven't tried one of these puppies yet- I highly recommend that you do, and if Santa needs a little push in the right direction- send him a link to this post so you'll be sure to get just what you want in your stocking. It's a skin care goody that fits so nicely into a busy lifestyle, and that doesn't break the bank. I have loved my Mia for years now, and I don't see that love affair ending any time soon.

Follow on Bloglovin

!function(d,s,id){var e, p = /^http:/.test(d.location) ? 'http' : 'https';if(!d.getElementById(id)) {e = d.createElement(s);e.id = id;e.src = p + '://' + 'widgets.rewardstyle.com' + '/js/shopthepost.js';d.body.appendChild(e);}if(typeof window.__stp === 'object') if(d.readyState === 'complete') {window.__stp.init();}}(document, 'script', 'shopthepost-script');

7 WAYS TO USE YOUR BEAUTY BLENDER

a guide to using your beauty blender for maximum results

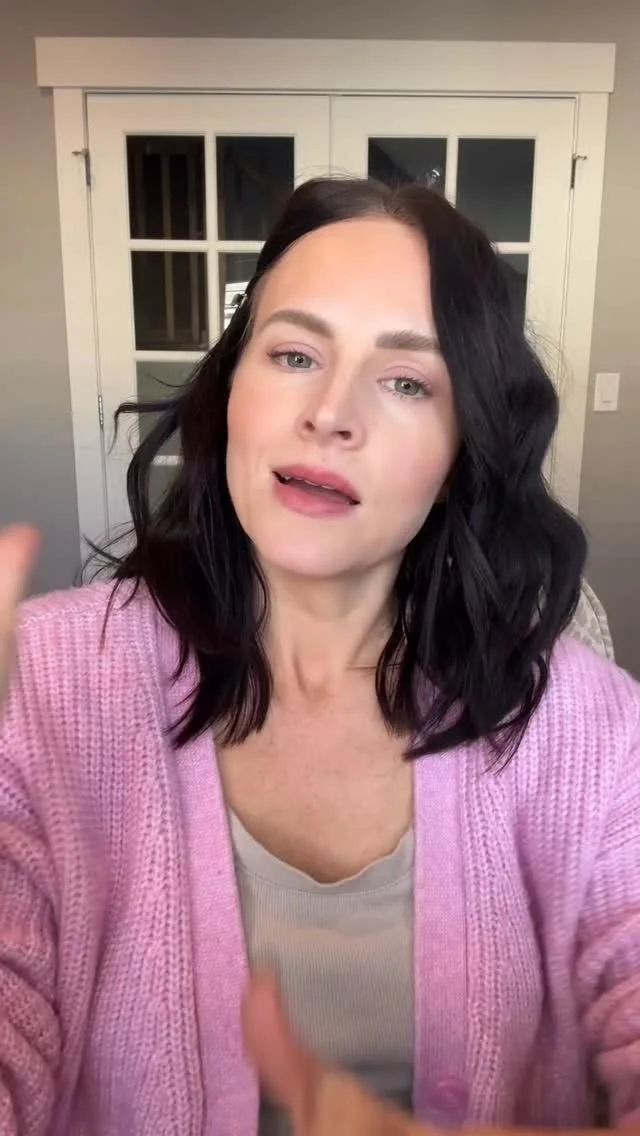
Every now and then, there is a beauty tool that comes around that changes the landscape of the industry. These rare cult-favorites are usually an investment and it may take some convincing [and/or saving] before you decide to buy. If you are like me, you may have tried some of the other knock-off sponges first in hopes that you would get the same results without the heavy price tag, but alas that didn't work out in your favor. Fast forward to today- I actually own and use FOUR Beauty Blenders currently, because it really is that good and I am totally obsessed. But again, if you are like me, you want to get the most out of your purchase because after all, $20 is $20 and it doesn't grow on trees.

Here are 7 ways to use your beauty blender in your makeup routine:

*Remember your BB should always be pre-moistened with water prior to use. This changes the texture and size of the sponge, but also makes it so your products aren't absorbed into the sponge.

1- Moisturizer or Serum

The BB is ideal for applying your moisture products and the white Pure BB is designed for just that, although any of the sponges work great.

2- Primer

This is one of my favorite uses for the sponge because it presses the primer into the pores and fills them more compactly and evenly then using your finger tips. Use the small end to apply your eye lid primers as well.

3- Foundation (Liquid or Powder) & Setting Powder

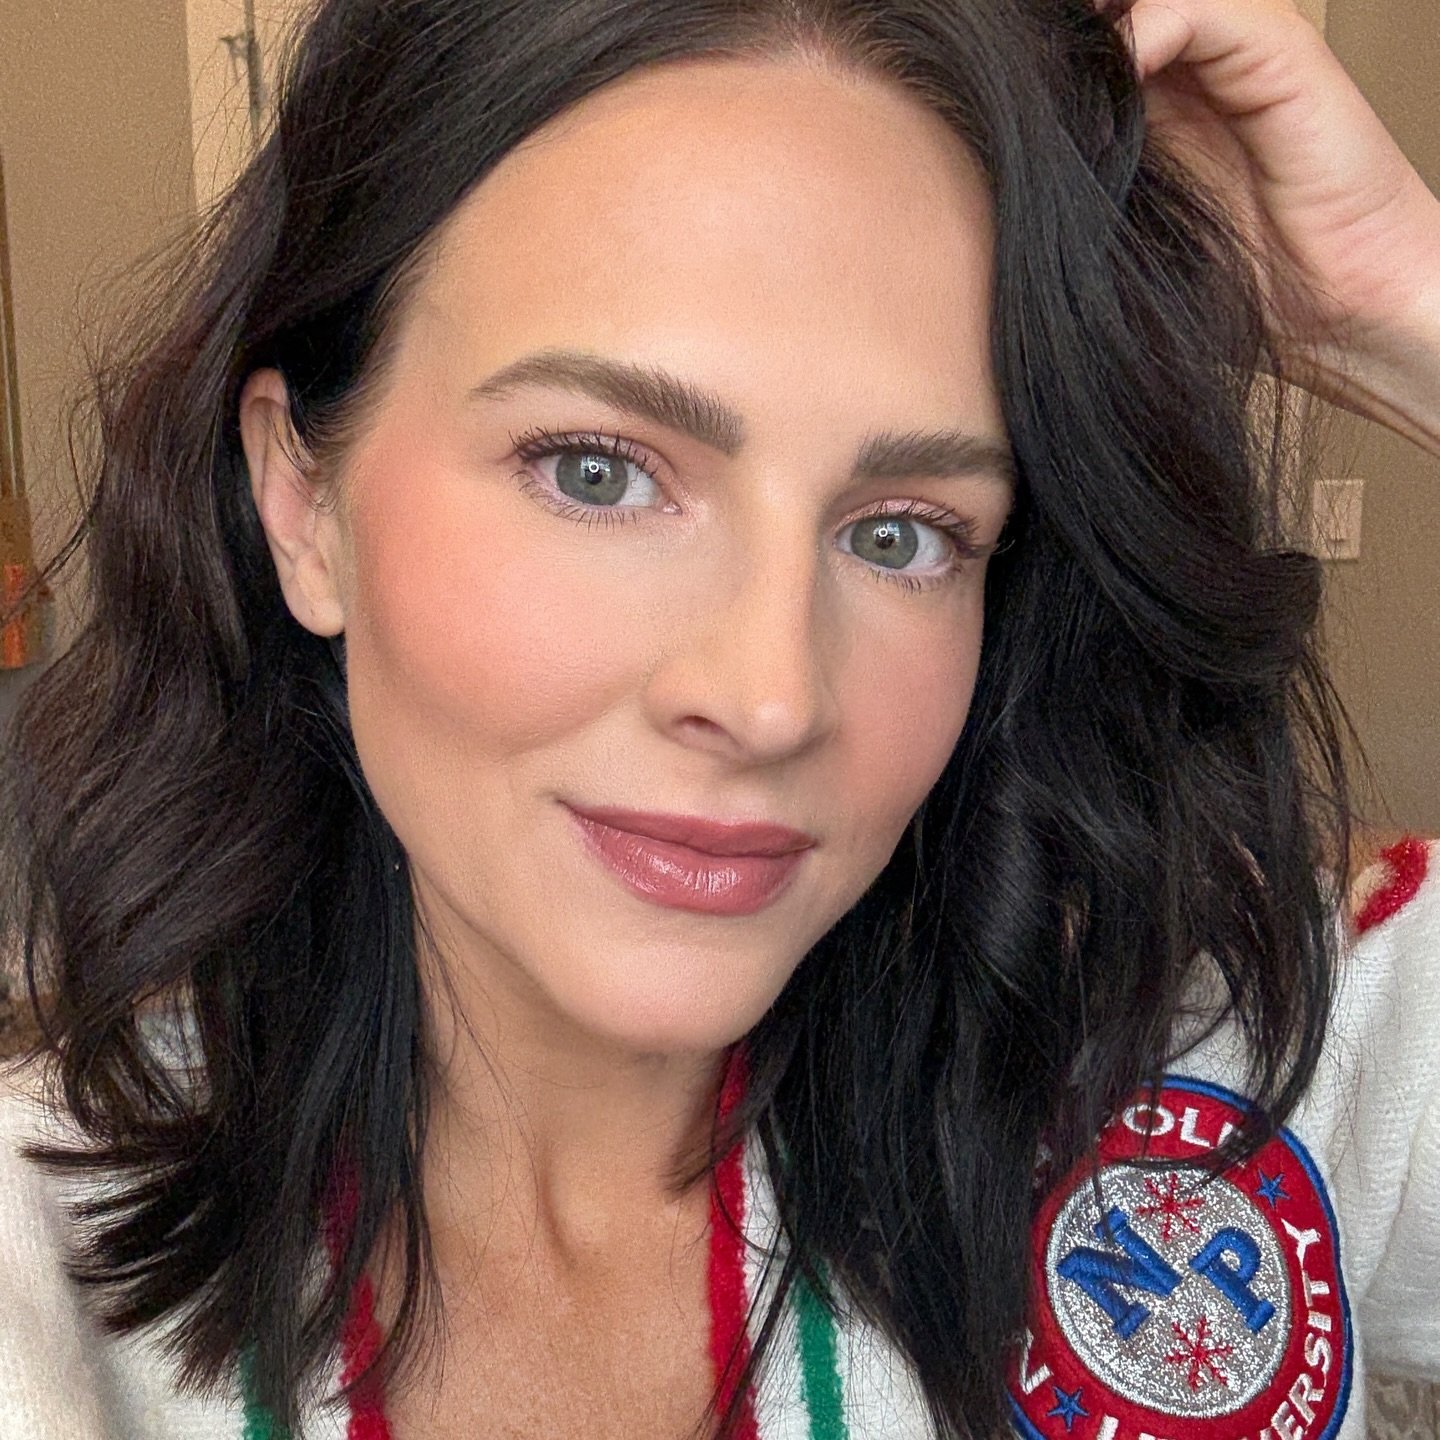
The most common use for the BB is to apply foundation, and if you just use it for this one step you'll still feel as though it was worth the purchase! The bouncing action of the sponge distributed your foundation so evenly with out streaking, and mimics the natural texture of your skin. Many people don't know however, that powdered foundations are also applied beautifully with the BB too. Just dip the sponge into the minerals, tap off the excess, and bounce the sponge on the skin to distribute the formula seamlessly. Finish your whole look with a dusting of translucent setting powder too.

4- Contour & Blush (Cream or Powder)

The precision small-sided tip of the sponge is perfect to draw lines of your dark contour colors under the cheekbones, down the sides of the nose, and under the jawline. You'll be able to see exactly where the color is placed and your results will be that much better. Then flip the sponge over, and bounce the rounded side along your contour lines to blend and blur the lines. Ditto for your blush as well.

5- Concealer

Use the BB to blend concealer with minimum effort and maximum comfort. I never worry about tugging on the delicate skin around my eyes with the BB because its' texture is so forgiving. The point of the sponge is great for getting to the inner corners of your eyes, and the small folds around your nose. BB even has a new mini sponge for detailed worked, although I haven't tried it yet.

6- Eye Shadow (Cream or Powder)

You might not think about using the BB for your eye shadow, but I find it is an amazing way to apply your cream shadows and blend out your edges with powdered shadows as well. The pointed tip makes application a breeze, and you can layer and build color beautifully. The mini BB would also be great for this purpose.

7- Lips (Balms or Stains)

When applying your more liquidy lip colors like balms, glosses or stains- the BB is a welcome companion. I love it for adding a hint of tint to the lips without looking too heavy in color. It's also ideal for blending ombre or color fade lipstick looks. Apply your lip liner first, then simply dab the lip color to fill in the lines.

Are there any ways you use your Beauty Blender that I haven't tried? Let me know in the comments below- and if you haven't tried a Beauty Blender yet... I am sure you can see that I highly recommend it!

A NEW BREED OF EYELASH CURLER

This little gizmo has been plaguing my conscience for almost 2 years. I have been a fan of the

original Shu Uemura eyelash curler

for many years, but I got wind that they were working on a new version that would be unlike any other curler I'd ever seen. There was a single image floating around the internet, but absolutely no information about it, or when it would be available. That was 2 years ago!

Finally, the

S-Curler

is born and available to purchase! In my excitement I clicked 'buy now' without reading a single comment, review, or even the description by Shu Uemura themselves. I didn't care- I just knew it had to be mine.

So when the box finally arrived at my doorstep- I was a

little

 lot shocked to unwrap the packaging and discover that the

S-Curler is TINY!

Like Barbie sized. Ok not quite that small, but you get the idea.

Next time, I'll read the description. Anywho- I got to work right away experimenting with this new fangled device. And I'll be the first to say- there is a big learning curve with this thing. After all, the lash curler has remained unchanged since forever, so learning how to hold, angle and squeeze something new takes practice. By day 4 I felt pretty confident, and found the right angle and eye position for myself- so if you do try it, give yourself some time to get used to it.

Here is what I've learned. It works! The smaller design means you have to use it on 2-3 spots along the lashes, but it also means more control and the ability to flair the lashes towards different angles. The open design with no side-walls is also great for those ladies who have deep set eyes and often deal with 'pinching' issues while using traditional curlers. And lastly, the flat large pressing surface at the top of the curler allows for you to get very tight to the lash line- which will be a godsend for those ladies with short/straight lashes, that sometimes aren't even long enough to make it into other curlers.

So, if you are looking for any of those things above, the

S-curler

is an awesome find. My only negative on this one are the finger holds. I find them to be too small for my liking (and I have small hands) and I also think they kind of hurt your fingers when you apply pressure. But I can live with it because I love the results of the curl.

What do you think, would you give this gizmo a try? Let me know! xo

Follow on Bloglovin

!function(d,s,id){var e, p = /^http:/.test(d.location) ? 'http' : 'https';if(!d.getElementById(id)) {e = d.createElement(s);e.id = id;e.src = p + '://' + 'd27mzdfpkg2pgg.cloudfront.net' + '/js/shopthepost.js';d.body.appendChild(e);}if(typeof window.__stp === 'object') if(d.readyState === 'complete') {window.__stp.init();}}(document, 'script', 'shopthepost-script');

Turn on your JavaScript to view content